When I first sketched out the track plan for the Monaghan Branch, I had no water features. I figured I would add a pond or two after the main track loop was down. As track laying began on the peninsula where a farm is planned, I realized the scenic plan would benefit from a creek or small river to provide a "scenic break" between the empty expanse of farm land and mountain to the west. For the planned track route, this meant two bridges over the water.
Leave it to me to put the breaks on the relatively simple job of laying track by including TWO bridges. One of the bridges was short (50') and I had already purchased a second-hand Micro Engineering deck girder bridge. The angle of the approach for the second bridge dictated a skew crossing over the water. Also, I knew I would need to do a bit of kit bashing to get the angle I needed. Again, why make it simple?!
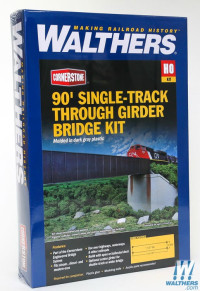
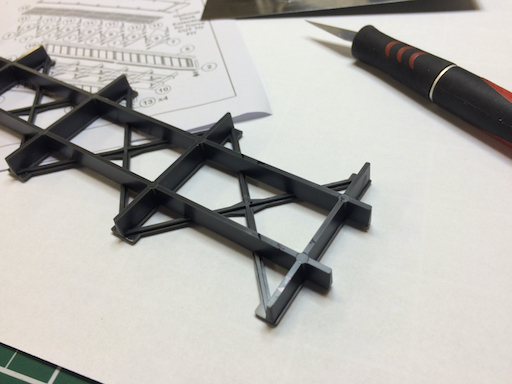
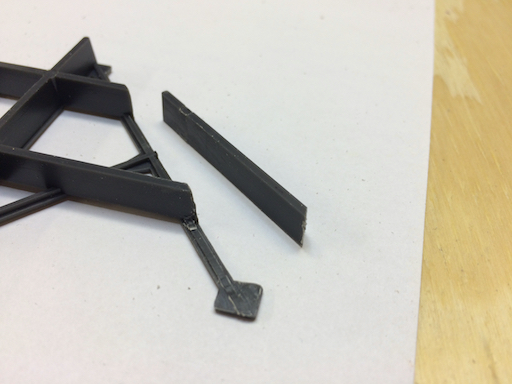
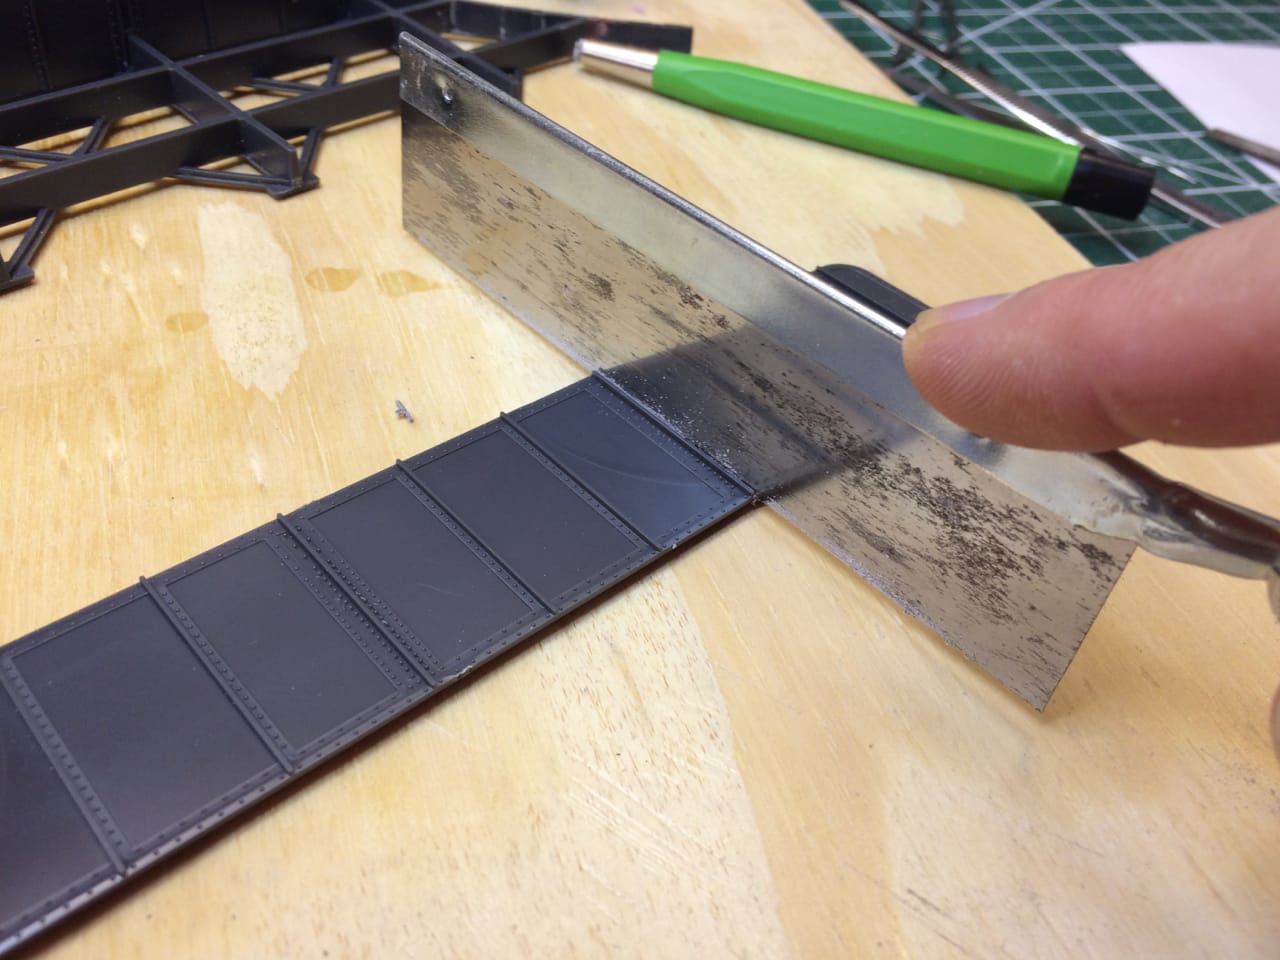
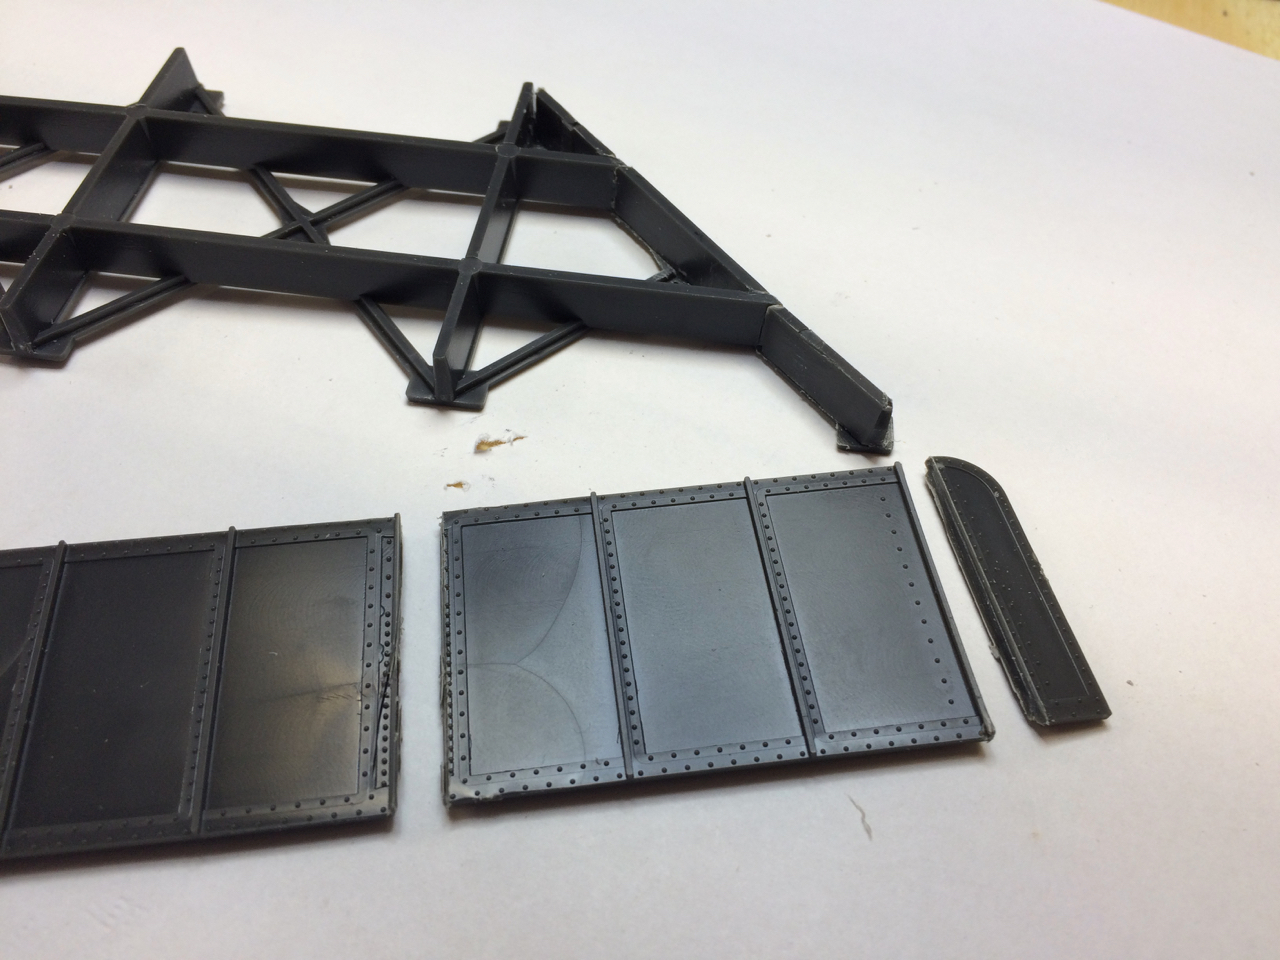
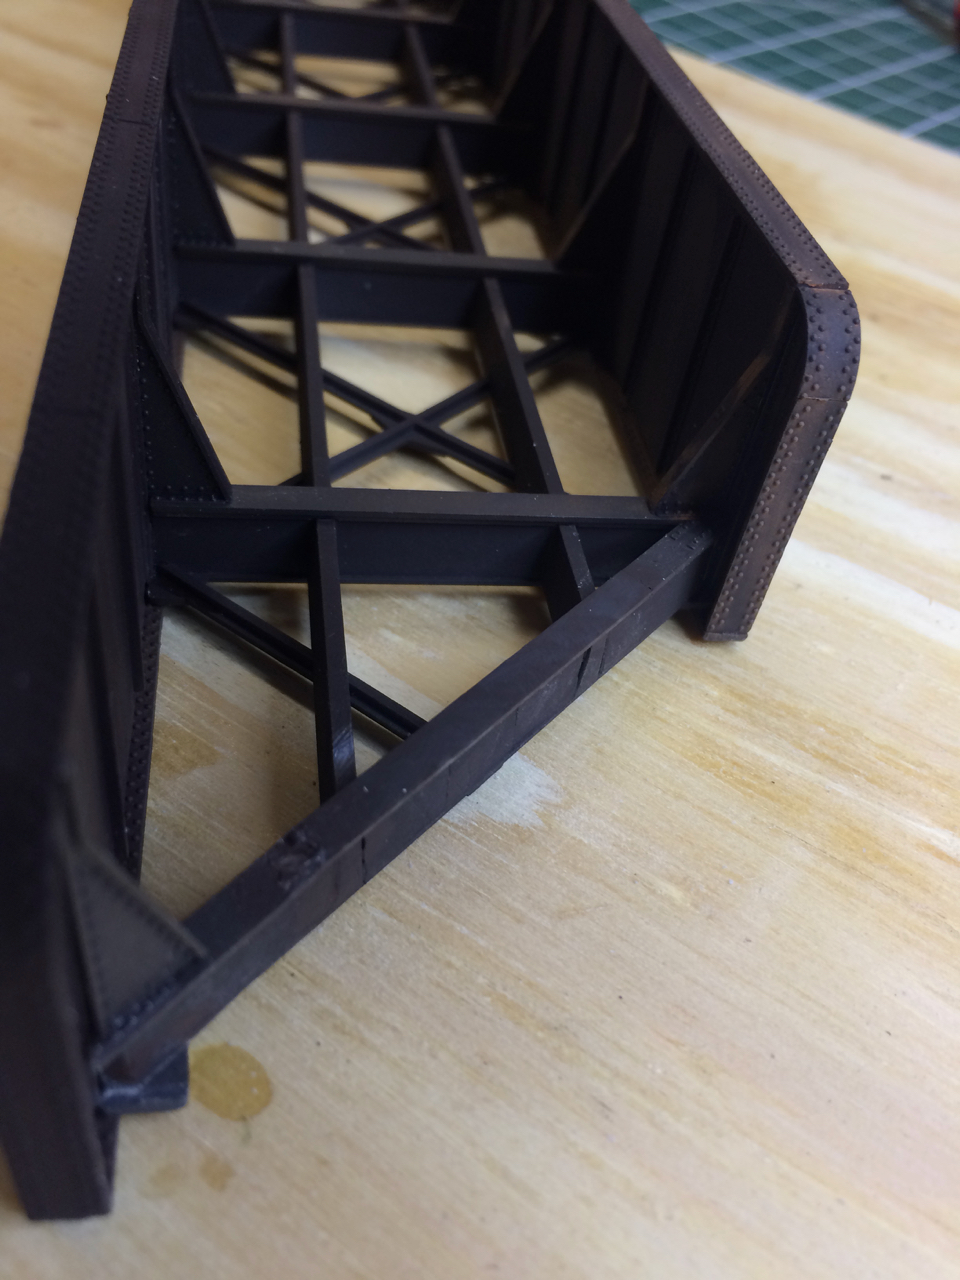
For the skew bridge, I purchased a Walthers Cornerstone through girder kit. Before assembling (and after washing the parts), I modified the floor beam assembly by cutting off each end at 45°, the angle at which the bridge would cross the creek. A brand new #11 X-Acto blade is critical for accurate scoring and cutting. I was sure to leave the end gusset plate with its nice rivet detail.
After gluing each of the end beams to the floor beams, I tested the fit on a pair of Chooch cut stone abutments.
Next, I used a razor saw to cut the plate girders to the correct length. I didn't want a cut in the middle of a plate so I made cuts on a rivet line.
After gluing the end edges onto the plate section, I glued the completed plates onto the floor beams. This was a good time to add a coat of paint using a rattle-can of Rustoleum camouflage brown flat paint which most resembled and old rusty bridge. I also painted the open deck assembly the same color before gluing that onto the floor beams. I began adding some weathering pastels to help add some visual interest to the otherwise very brown and boring bridge.
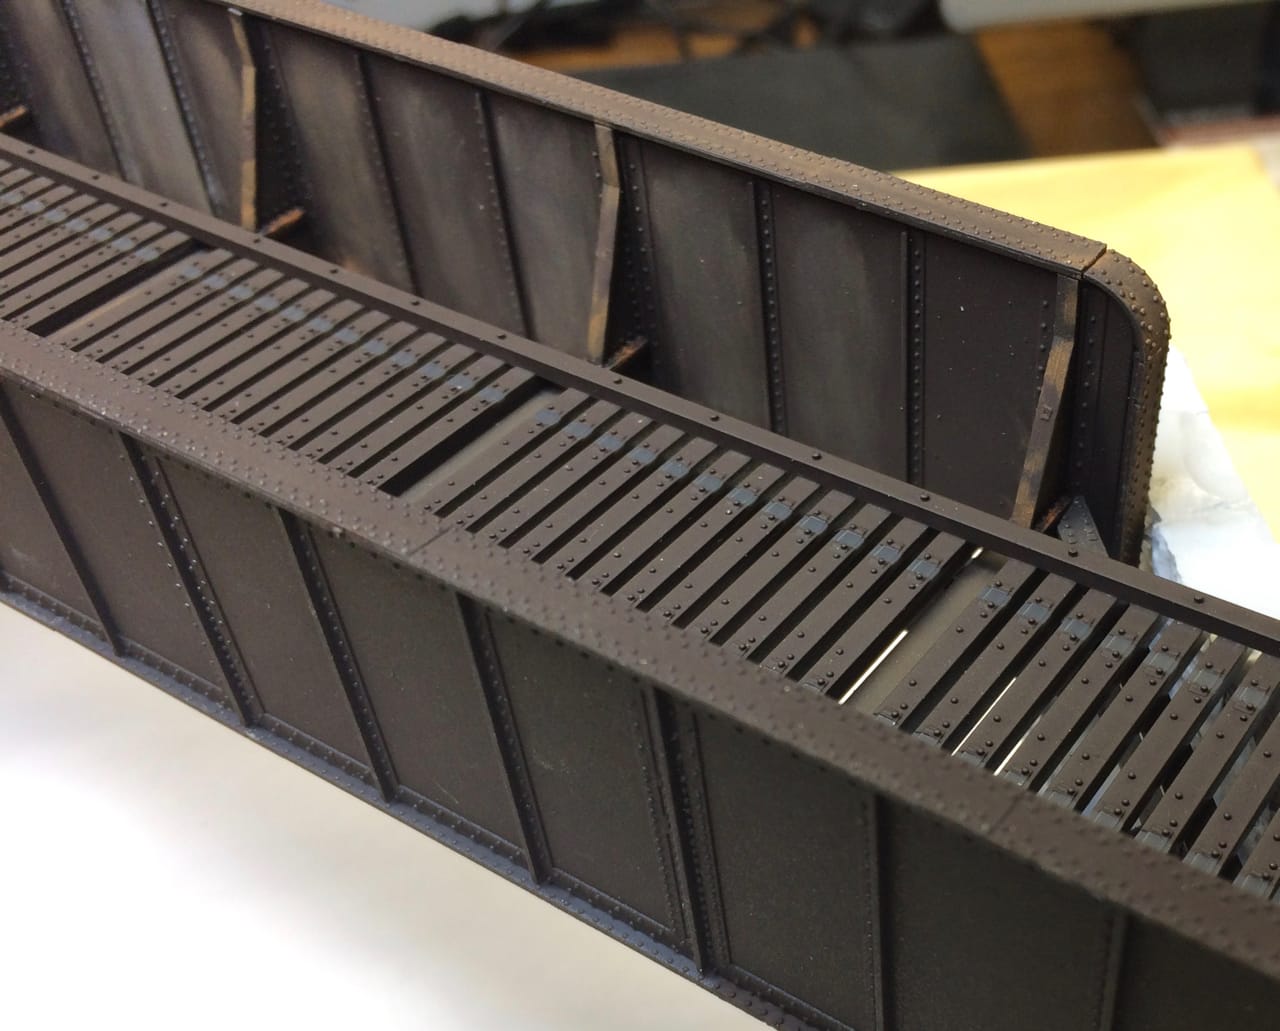
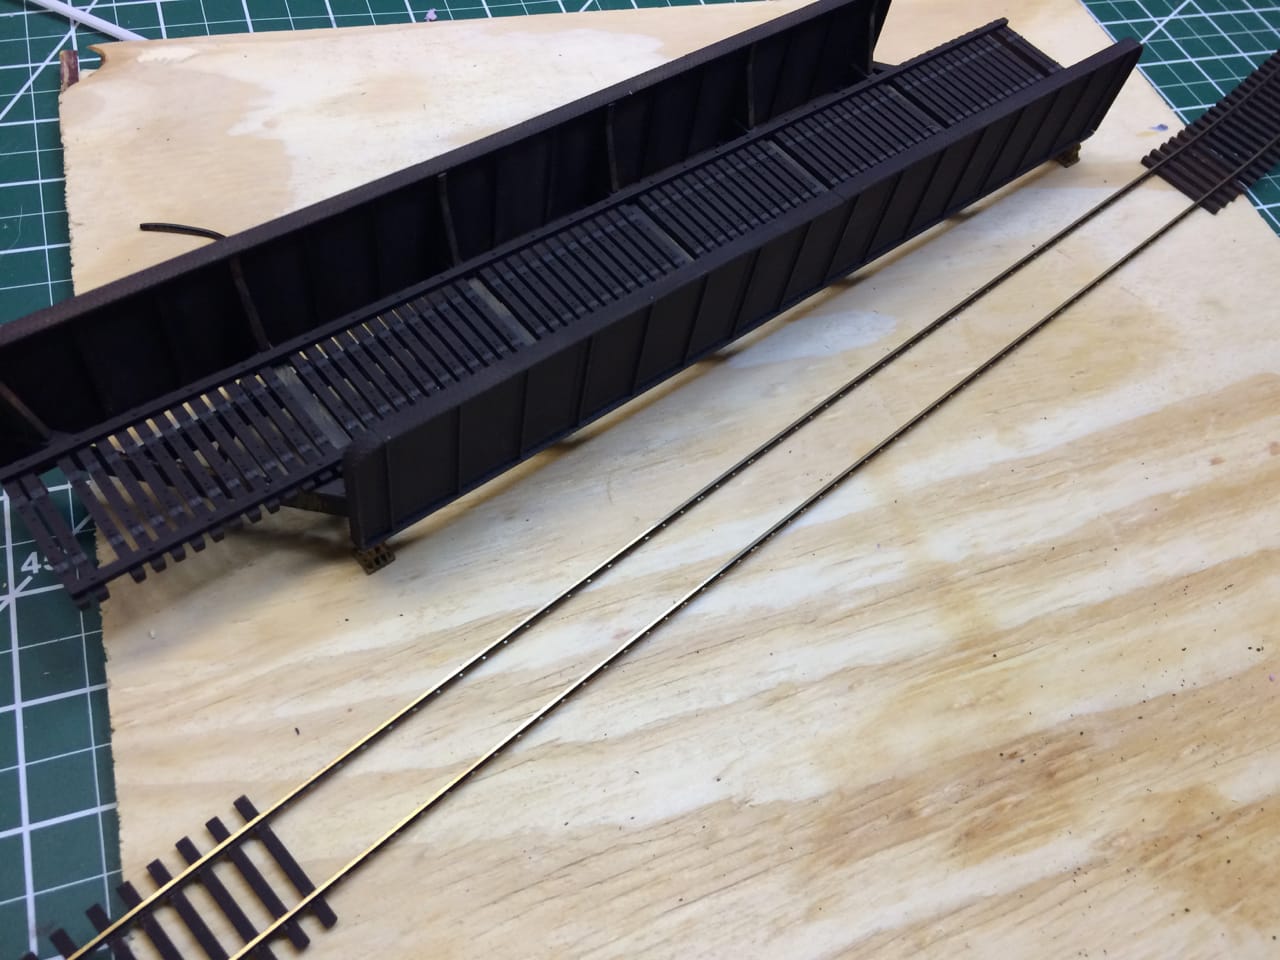
With an open deck bridge, the bridge ties support the track. Bridge ties are heavier than normal ties and are also placed closer together. I had to remove some ties from a section of flex track and glue it to the bridge.
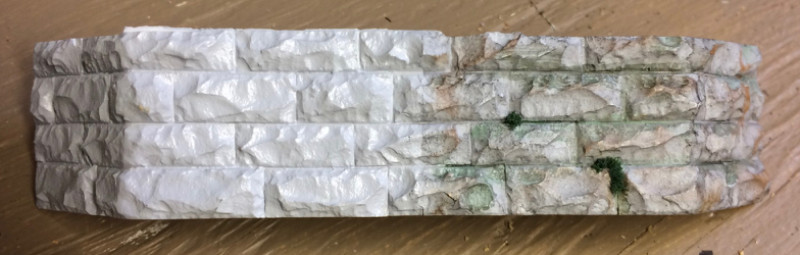
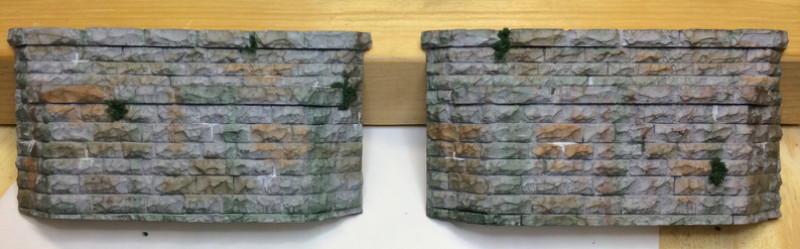
The abutments needed some attention since they look brand new out of the package. This required several layers and colors of thinned acrylic paint and weathering pastels to get the look I was after. I generally use reference photos for this process. A touch of ground foam coarse turf was added as heavy moss.
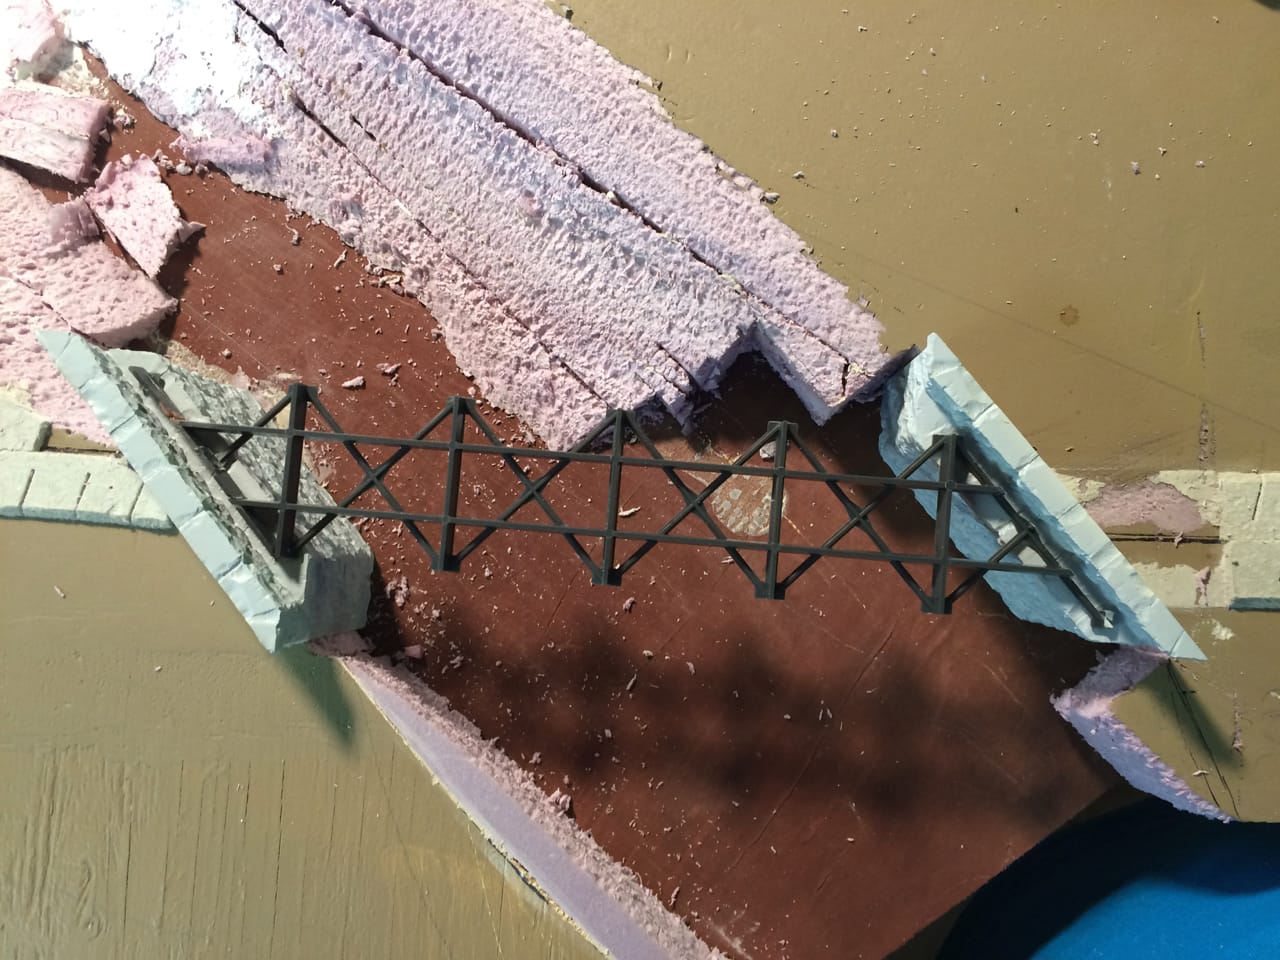
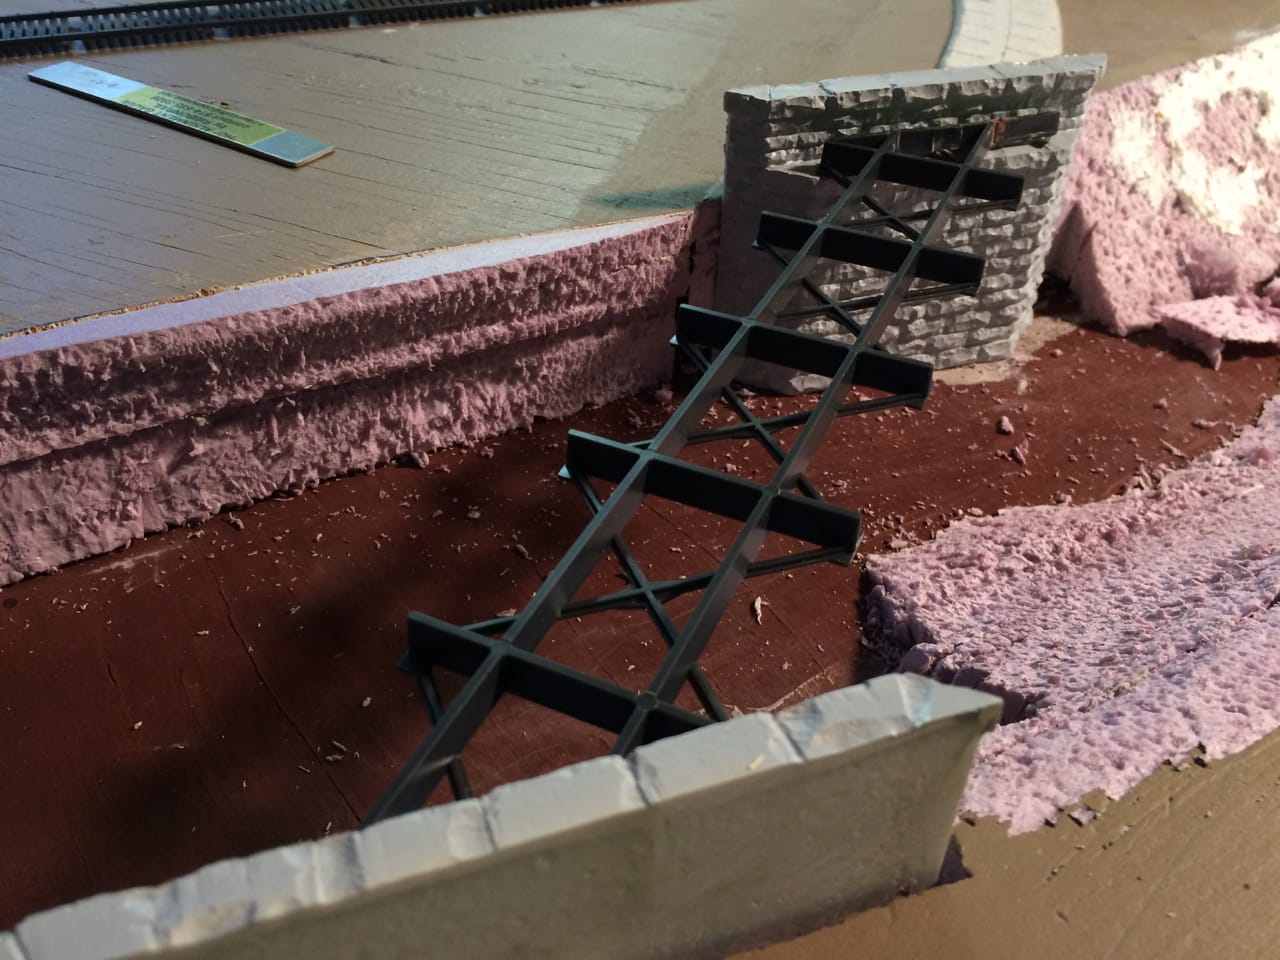
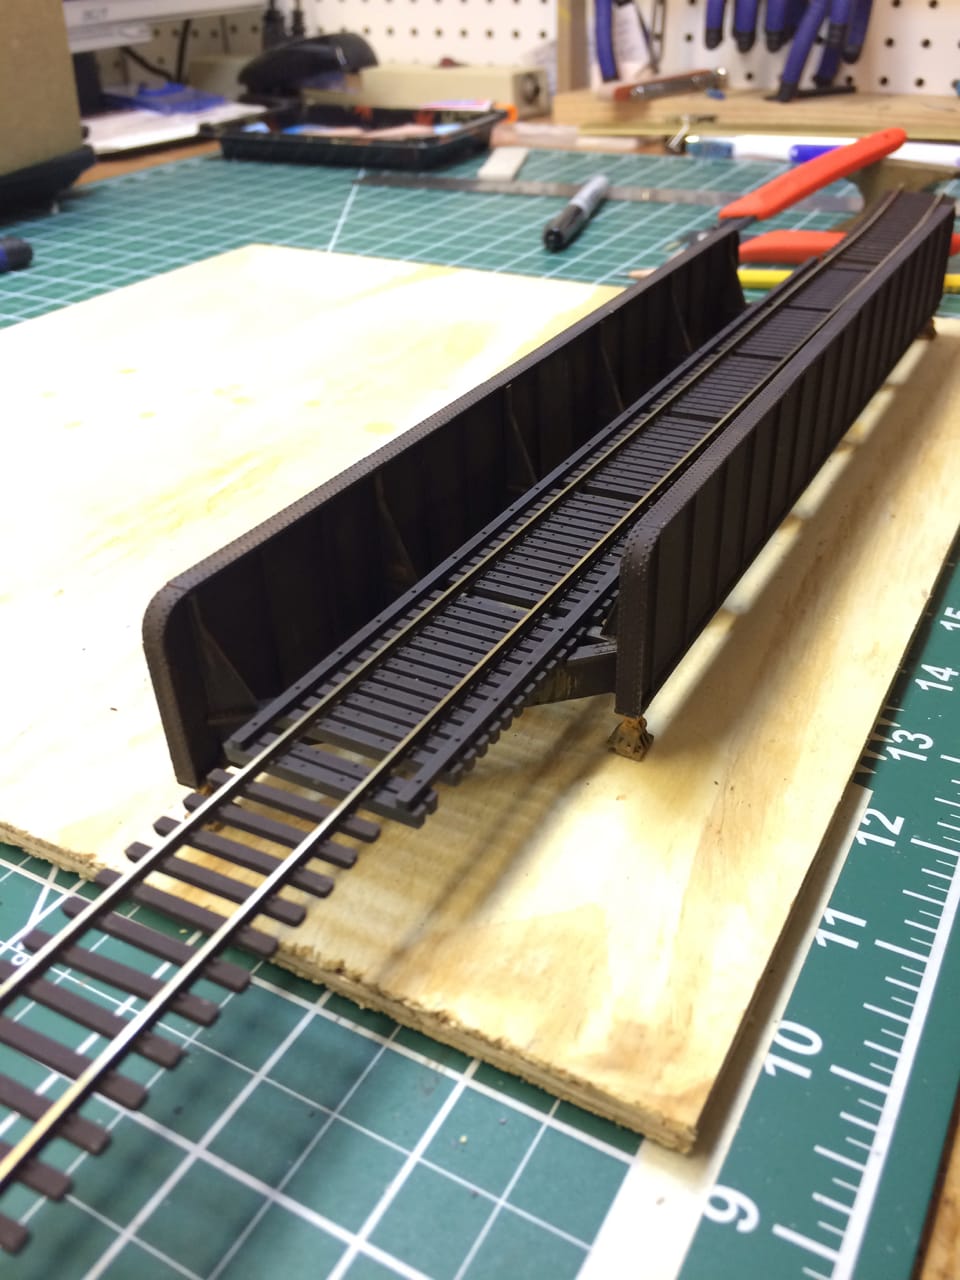
After some consultation with my resident artist, the final product was ready to be installed on the creek bed.
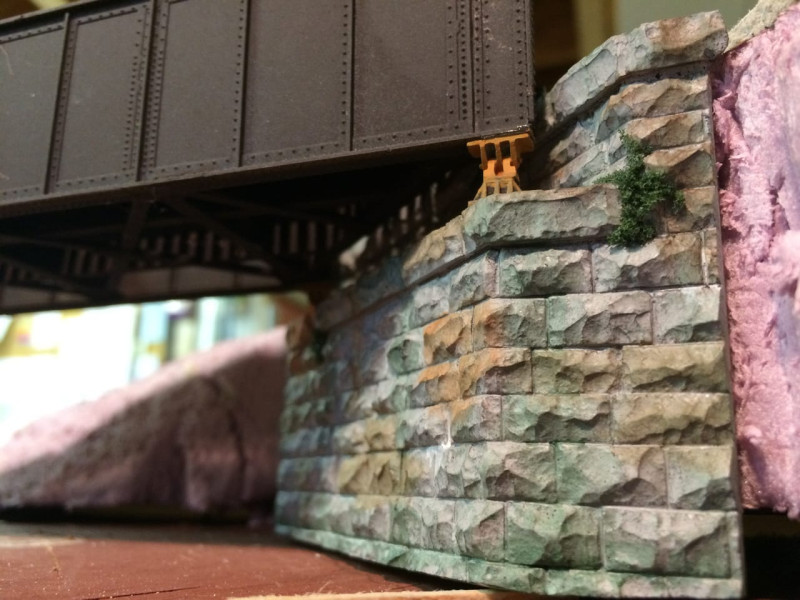
A final test fit before attaching the abutments to the creek bed. The extruded pink foam will be covered with scenic material later. (A keen eye will note the bridge shoes are installed incorrectly. This was fixed after the photo was made.)