Several manufactures offer molds for making rock castings. They are widely available and are reusable. Their wide-spread use may make them easily recognizable on other's layout but probably not to the extent of seeing the same structure kits all over. In an effort to increase uniqueness in rocks for scenery, I decided make my own molds from found rocks.
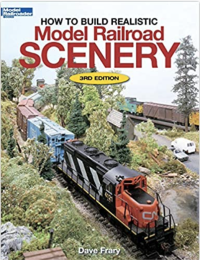
Dave Frary's book, "How To Build Realistic Model Railroad Scenery", describes in detail how to make your own molds from actual rocks. After choosing an appropriate rock that would pass as an outcropping, for example, wash the rock with water to remove any loose material and dirt.
My next step was not in the book but since I wanted a flat top to the mold, I attached some corrugated cardboard covered in wax paper (so the latex would not stick) to the rock.
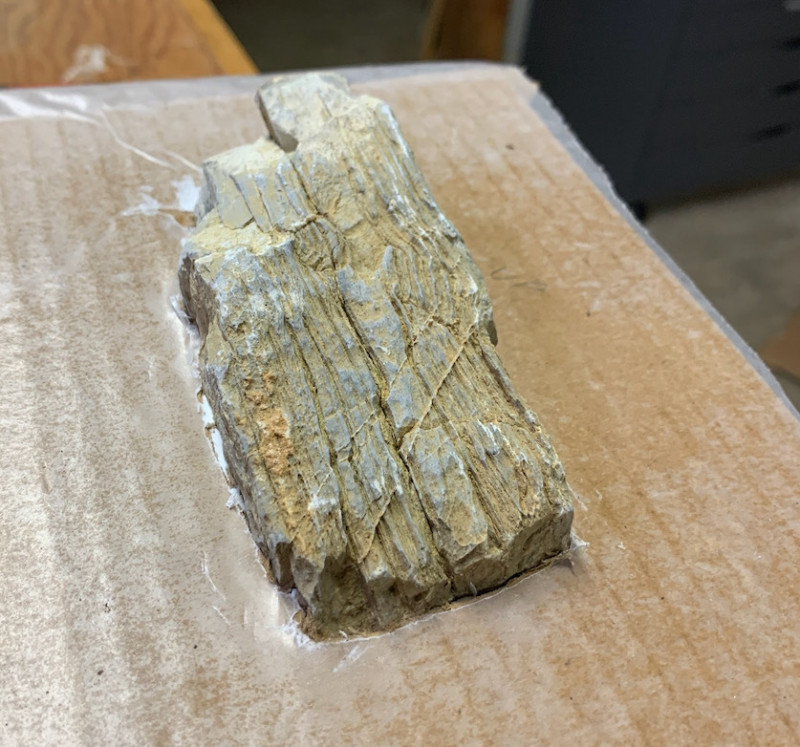
It's time to spread the first coat of latex rubber on the rock with a generous margin for support. I used a 1" wide paint brush to spread the Woodland Scenics Latex Rubber. Let the latex dry completely before continuing. After two or three coats, add a layer of cheesecloth before spreading another three or four coats of latex (drying before each coat).
When the latex is fully dry, carefully peel the mold from the rock and cardboard frame.
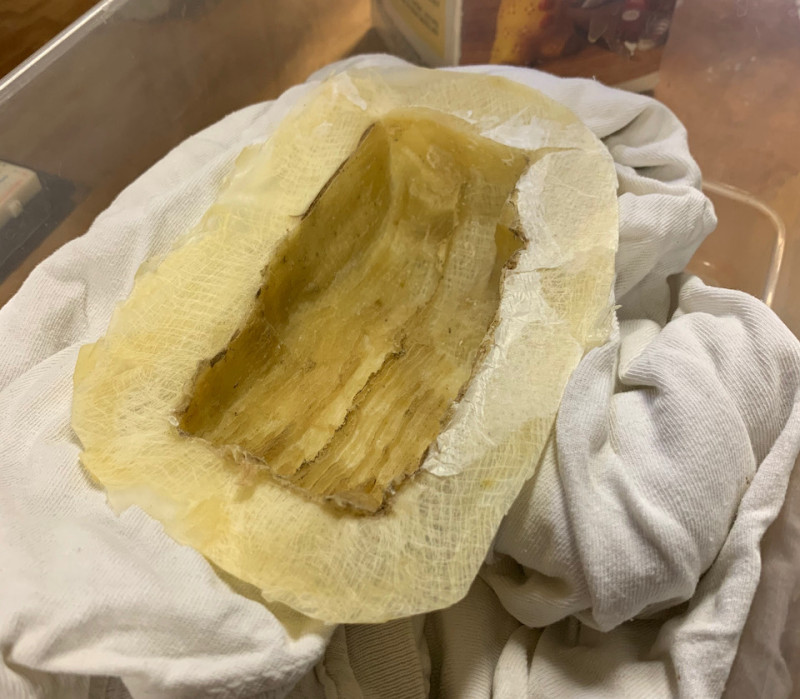
Now it's time to make some castings! I've used plain old plaster of Paris on some Woodland scenics molds and it worked fine. The castings are a bit brittle but they look fine. While on Amazon shopping for more plaster, I noticed something called Perfect Cast. It was about the same price as plaster so I decided to give it a try.
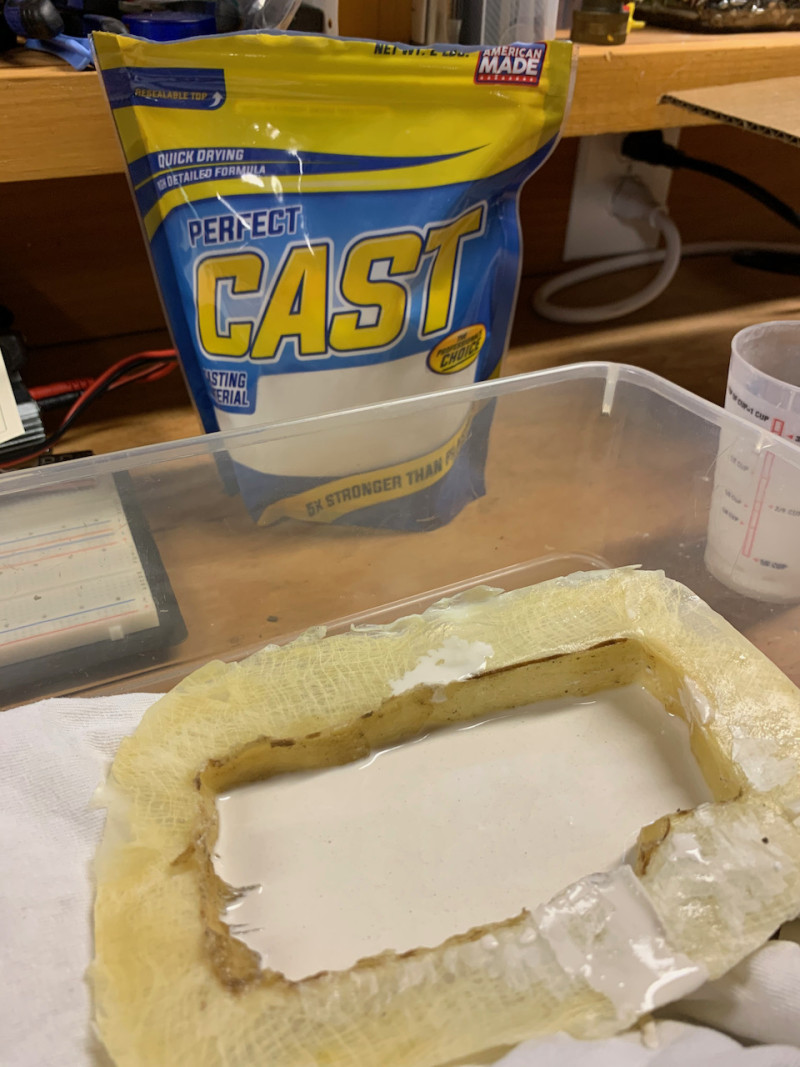
The mixture was much smoother that plaster. After the prescribed curing time, I peeled the mold from the casting.
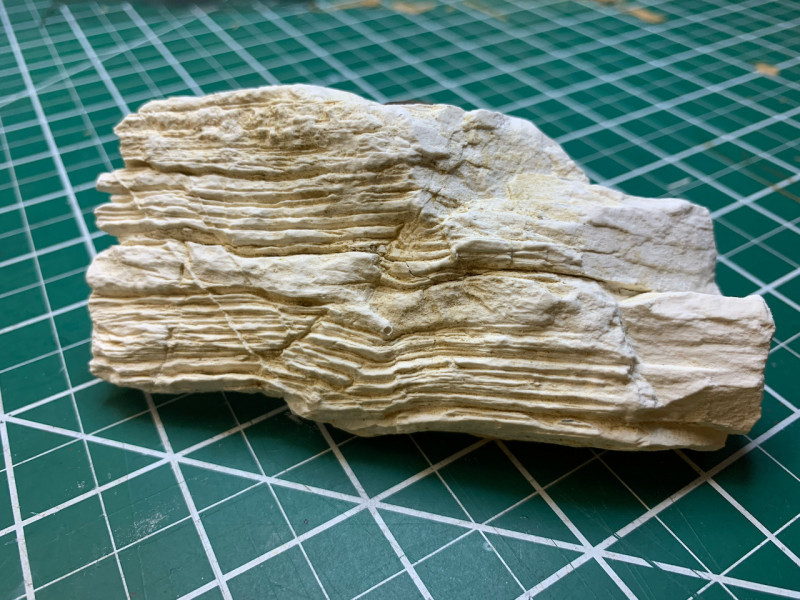
The detail was impressive - much better that plaster of Paris. And, I had a unique rock casting that I won't see on other layouts. It will be fun to see these installed when I get to the scenery building part of the project!
